Master Jira Software Release Management to Accelerate Releases
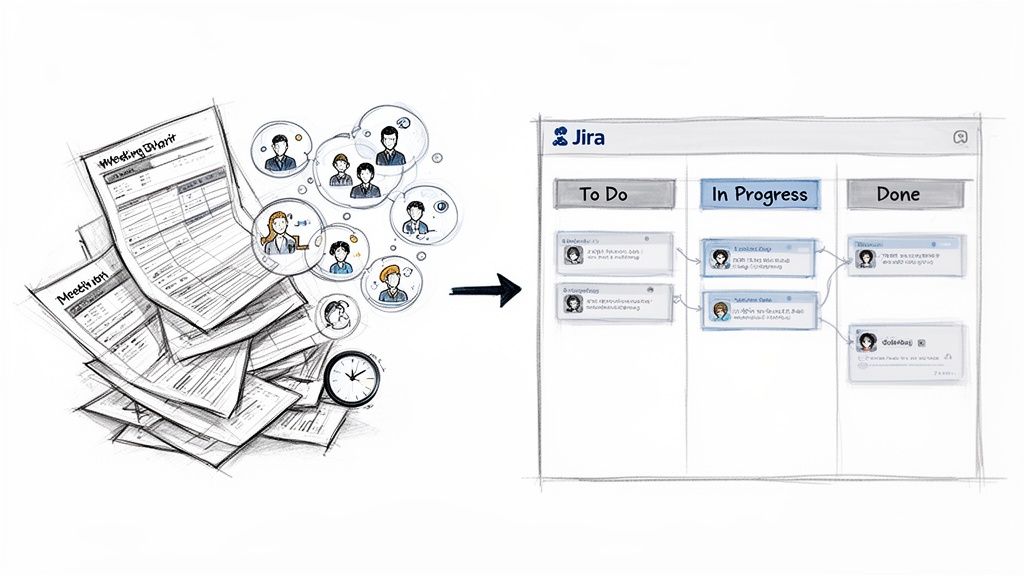
If you're still relying on spreadsheets and endless status meetings for your Jira software release management, you're creating unnecessary friction. This manual approach is a surefire way to introduce communication silos and human error, turning what should be a smooth process into a chaotic firefight. Let's fix that.
Moving Beyond Spreadsheets And Status Meetings
For any modern software team, traditional release management is fundamentally broken. The problem isn't just that it's slow; it's the daily productivity loss that occurs when your release process lives outside of Jira, your team's central hub for development.
When teams track progress across a patchwork of different tools, the result is predictable chaos. Ditch these common pain points by centralizing your process in Jira:
- Eliminate Status Meetings: Replace meetings where people report progress with real-time Jira dashboards. Progress should be visible to everyone, at all times, without a meeting.
- Kill the "Master" Spreadsheet: A release tracker spreadsheet is a single point of failure. It’s instantly out of date and creates version control nightmares. Use Jira Versions as your single source of truth.
- Reduce Communication Noise: Without a central hub, your team is stuck in a loop of Slack messages and emails just to clarify status. A well-configured Jira project makes the status clear to everyone.
The Real Cost Of Manual Tracking
Manual coordination is incredibly risky. One missed update in a spreadsheet can lead to deploying the wrong code, skipping a crucial testing step, or giving stakeholders an inaccurate timeline. The result? Delayed launches and a frustrated team spending more time on admin than building software.
Take Swiss Re, a global reinsurance company that had to manage releases across 12 interconnected applications. They were buried in spreadsheets, leading to constant emails and calls for basic updates. By bringing their release management directly into Jira, they cut communication overhead by 50%. This freed up their teams to focus on shipping, not chasing information. You can read more about Swiss Re's successful transition and replicate their success.
The core problem with manual release management is the lack of a single source of truth. When development is in Jira but release coordination is elsewhere, you guarantee misalignment.
A structured, automated approach built inside Jira isn't just a "nice-to-have." It’s essential for shipping software reliably and efficiently.
Laying the Foundation for Your Jira Release Workflow
Before building complex automations, get the fundamentals right. A successful Jira software release management process is built on a solid foundation using Jira’s native features. This creates a single source of truth for every release, eliminating scattered spreadsheets for good.
The cornerstone of this setup is the Jira Version. Treat a Version as a container that holds every piece of work (features, bug fixes, tech debt) destined for a specific deployment. Proper configuration is non-negotiable for a predictable release cadence.
Taming Your Releases With Jira Versions
First, create a Version for your upcoming release. Navigate to your Jira project settings, find the 'Releases' section, and create a new version.
Give it a descriptive name like "Q3-Mobile-App-V2.1" instead of a generic one like "Next Release." Most importantly, set a Start date and a Release date. These dates are what Jira uses to measure progress against your timeline.
With the Version created, start assigning issues to it using the Fix Version/s field during backlog grooming or sprint planning. Every issue you tag gets added to that release container, making the scope visible and trackable for everyone.
Getting Your Workflow to Mirror Reality
Your Jira workflow must be an accurate model of your actual release process. For Jira's reporting to be useful, your final workflow column—typically 'Done'—must represent work that is truly finished and ready to ship.
Here's a critical step: map your final status to the correct category. Jira’s release reports only count an issue as "done" if its status is mapped to the green 'Done' status category. If your final step is called "Shipped" but isn't mapped to that green category, Jira won't see it as completed. Your burndown charts will be inaccurate. For a step-by-step walkthrough, our guide on https://harmonizepro.com/blog/changing-workflow-in-jira provides the specifics.
A common mistake is a "Testing Complete" status that isn't mapped to the 'Done' category. All those validated issues will still show up as unresolved in your release view, causing unnecessary panic.
Every release in Jira combines scope (issues), a timeline (dates), and its journey through your workflow. With agile adoption now exceeding 70% in enterprises, this kind of tracking is crucial for cutting project delays.
The Essential Jira Release Management Components
To tie this all together, master these native Jira components. This is your foundational toolkit.
Key Jira Components For Release Management
| Jira Component | Primary Function | Actionable Tip |
|---|---|---|
| Versions (Releases) | Acts as a container to bundle all issues (features, bugs, tasks) for a specific deployment. | Use a consistent naming convention (e.g., "Platform-V4.2-Q3") and always set a start and release date. |
| Fix Version/s Field | The Jira field that links an individual issue to one or more release Versions. | Make updating this field a required part of your backlog grooming or sprint planning process. |
| Workflow Statuses | Visual representation of the steps your work goes through from "To Do" to "Done." | Customize your workflow to match how your team actually works, not just a generic template. |
| Status Categories | The backend mapping that tells Jira whether a status means "To Do," "In Progress," or "Done." | Double-check that all of your final statuses (e.g., "Deployed," "Live") are mapped to the green 'Done' category. |
| Release Burndown Chart | A real-time report that visualizes remaining work against the time left before the release date. | Check this chart daily. It's your early warning system for scope creep and potential delays. |
Mastering these components gives you the control and visibility to run a smooth release process directly within Jira.
Putting the Release Burndown Chart to Work
Once your Versions and workflow are configured correctly, leverage Jira's most powerful native tool: the Release Burndown chart. This isn't just another report; it’s your command center for tracking release health.
Use this chart to get immediate answers without pinging developers:
- Is scope creeping? A sharp upward jump in the "Total issues" line means new work has been added.
- What's our velocity? The downward slope of the "Remaining issues" line shows your team's completion rate. A flat line is a red flag.
- Are we on track? If the projected burndown trend extends past your release date, you have an early warning that you're at risk.
This is actionable intelligence. Use this real-time visibility to make proactive decisions—adjust scope, reallocate resources, or manage stakeholder expectations—long before the deadline.
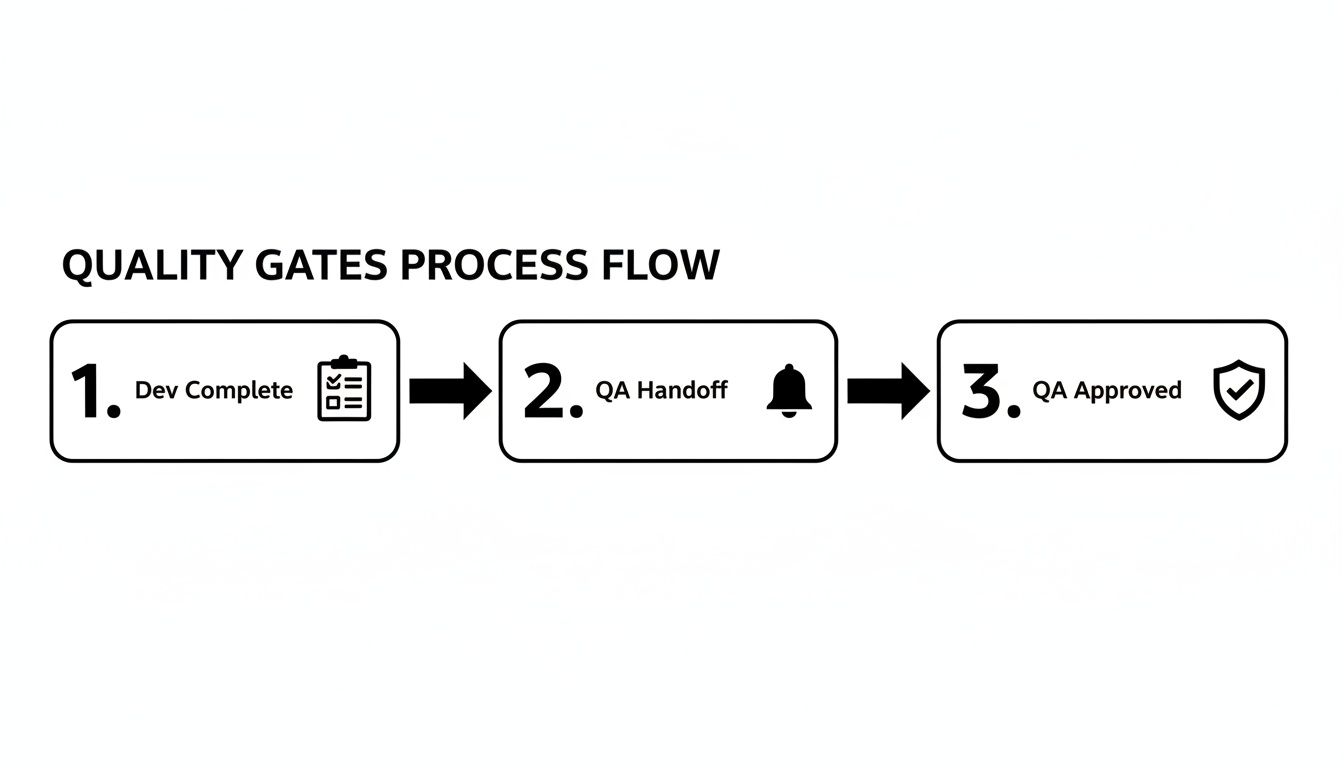
Building Reliable Quality Gates And Handoffs
With a solid workflow in place, it's time to build the automated checkpoints that elevate your Jira software release management. Go beyond simple status tracking by creating automated quality gates and handoffs. These are the tools that prevent bad code from slipping through and eliminate the endless "is this ready yet?" conversations.
A workflow status is just a label. A quality gate is a barrier that lowers only when specific criteria are met. Without this, you’re relying on trust and memory, which are unreliable under pressure.
We've all seen a developer drag a ticket to "Ready for QA" when the feature branch isn't merged and no test notes exist. The QA engineer wastes time playing detective and bounces the ticket back. This is the inefficiency that enforceable quality gates are designed to prevent.
Enforcing Your Definition Of Done With Blockers
Your Definition of Done (DoD) needs to be more than a wiki page; it must be an active part of your Jira workflow. The most effective way to achieve this is by embedding detailed checklists directly inside your Jira issues and using them to block transitions.
For example, a developer's DoD before a QA handoff should include:
- Code Review Completed: All PR feedback is addressed and approved.
- Unit Tests Passed: The new code is covered, and the test suite is green.
- Feature Branch Merged: The code is in the main development branch.
- Deployed to Staging: The build is live on the staging environment.
Using an app like Nesty, you can build this checklist into your Jira issue templates. Then, configure the workflow so the "Move to QA" transition is physically blocked until every item is checked. It's not a suggestion; it's a hard requirement. The developer simply cannot pass the ticket on until the work is verifiably done.
This mechanism shifts accountability from the QA engineer back to the developer. When a ticket lands in the QA queue, the team knows it’s genuinely ready. This action alone can slash QA cycle times and reduce back-and-forth communication.
Your DoD becomes an active contract within each ticket, creating a clear, auditable trail.
Automating The Perfect Handoff
Once the "is it ready?" problem is solved, tackle the handoff itself. Manual handoffs are notoriously error-prone. Automate the process to ensure nothing gets missed.
Here is an actionable "Dev → QA" handoff automation, triggered the instant a developer completes their DoD checklist:
The Trigger: The final item on the "Developer DoD" checklist is marked complete.
The Automated Actions:
- Status Transition: The issue instantly moves from "In Progress" to "Ready for QA." No manual board updates are needed.
- Assignee Change: The ticket is unassigned from the developer and reassigned to the QA team's lead or a shared "QA Triage" user.
- Team Notification: An automated message is sent to a specific Slack or MS Teams channel with key info: "Hey @qa-team, JIRA-123 'Implement New User Login Flow' is now ready for testing. Deployed to Staging by @developer-dave."
- Artifact Verification: Set a rule that blocks the handoff if a required file, like "test-plan.pdf," isn't attached, prompting the developer to upload it.
This automated sequence ensures a perfect, information-rich handoff every time. The QA team gets a clear signal, the right person is assigned, and all context arrives instantly. This is how top teams use Jira to orchestrate their entire release process.
Managing Deployments Across Multiple Environments
After locking down your quality gates, the next step is managing deployments across environments like dev, staging, and production. A single, linear Jira workflow for this is inefficient and confusing.
Instead, treat each environment as a distinct stage inside the Jira issue itself. This gives you a clear, auditable trail and lets you build specific checks for each environment. A Jira issue transforms from a task tracker into a deployment command center for that specific feature.
Structuring Your Issue for Multi-Environment Promotions
Use nested checklists to map out the deployment process for each environment. For a new user profile feature, create separate sections for each stage in the pipeline.
With a tool like Nesty, you can set up parent checklist items for each environment—like "Deploy to Development," "Promote to Staging," and "Release to Production"—and nest the required tasks underneath each one.
This flow creates a quality-gated handoff, where one stage is fully verified before the next one begins.
This process ensures development work is complete before QA is notified. QA's approval then acts as the final gate, creating a reliable and easy-to-follow handoff.
Here’s a practical structure to implement inside a Jira ticket:
- Deploy to Development
- Merge feature branch to
develop - CI build successful
- Smoke tests passed on dev server
- Merge feature branch to
- Promote to Staging
- Create release branch from
develop - Deploy to staging environment
- Run integration test suite
- QA sign-off received
- Create release branch from
- Release to Production
- Merge release branch to
main - Tag final release version (e.g., v2.5.1)
- Production deployment complete
- Monitor logs and performance metrics for 30 mins
- Merge release branch to
This structured format makes the status instantly clear. Anyone can see which environment the code is in and what needs to happen next.
Pro Tip: By structuring your deployment process this way, you create a perfect audit trail. When a stakeholder asks about the release process for JIRA-456, you can show them the completed checklist with every step documented and timestamped.
Using Smart Triggers to Automate the Promotion Process
Structure is the start; automation is the accelerator. Use smart triggers to automate the handoffs between environments, eliminating the manual errors that cause delays.
Tie checklist completions to automated Jira actions. Here is a typical Staging-to-Production promotion automation:
The Trigger: The last item on the "Promote to Staging" checklist—"QA sign-off received"—is checked off.
The Automated Cascade:
- Task Creation: An automation rule instantly creates a new sub-task titled "Deploy JIRA-456 to Production" and assigns it to the release engineering team.
- Stakeholder Notification: A webhook sends a message to the
#releasesSlack channel and an email to key product stakeholders: "Feature 'JIRA-456' has passed QA on Staging and is now ready for production release." - Issue Status Update: The parent Jira issue's status automatically flips from "In QA" to "Ready for Release," keeping your board accurate.
This automated sequence acts as an invisible project manager, ensuring the right people are notified and the right tasks are created at the right moment. By combining structured checklists with smart automation, you build a resilient, repeatable, and transparent deployment workflow.
Hooking Up Your CI/CD Tools and Automating Release Notes
To achieve full efficiency, connect Jira to your entire development toolchain. Manually updating tickets after a build or deployment is a time-waster and an error source. Integrating Jira with your CI/CD pipeline creates an automated feedback loop that keeps your project board perfectly in sync with your code.
This closes the gap between your codebase and your project plan. When a developer merges a pull request, your CI/CD tool—whether it's Jenkins, GitLab CI, or Bitbucket Pipelines—should update Jira automatically.
Bridging the Gap Between Code and Jira
Use webhooks to connect your CI/CD server to Jira. A webhook is a notification that one system sends another when an event occurs. For example, when a Jenkins build succeeds, it can fire a webhook to a Jira automation rule.
This simple connection unlocks powerful automations. Configure Jira to listen for these signals and react instantly:
- Successful Build: A webhook triggers an automation to move the corresponding Jira issue from "In Progress" to "Ready for QA."
- Failed Build: A failed build posts an automated comment on the ticket, tagging the developer with a direct link to the build log.
- Deployment to Staging: A successful deployment changes the issue's status to "In Staging" and assigns it to the lead QA engineer.
This automation ensures your Jira board is always an accurate snapshot of reality. To learn more about building these rules, our guide on Jira workflow automation provides practical examples.
Taking the Pain Out of Release Notes
The next big win is automating release notes. Compiling them is tedious and error-prone. You can automate this process since Jira already knows every issue—feature, bug fix, and improvement—associated with a specific Version.
Make release notes a natural byproduct of your development process, not a painful task at the end. When Jira generates the first draft, you only need to edit and refine, saving hours of work.
How to Set Up Release Note Generation
Many marketplace apps can do this, but you can also use Jira's native automation. Create a rule that triggers the moment you mark a Version as "Released."
Here’s how to build the automation:
- The Trigger: The rule fires as soon as a Jira Version's status is changed to "Released."
- The JQL: The automation runs a JQL (Jira Query Language) query to pull all issues with that specific "Fix Version."
- Formatting and Sending: It loops through those issues, grabs key details like the summary and issue type, and formats them into a clean list. This text can then be posted to a Confluence page, emailed to stakeholders, or pushed to a Slack channel.
You can also use different templates, such as grouping bug fixes under a "Bug Fixes" heading and new features under "What's New?". This simple setup ensures nothing gets missed and frees your team from one of the most monotonous parts of the release cycle.
Future-Proofing Your Release Process
A great Jira software release management system requires ongoing maintenance to remain effective. Treat it as a living part of your team's toolkit, not a "set it and forget it" project. You need to build a process that is not just efficient today but resilient for the future.
Why Long Term Support Matters
One of the most strategic actions you can take is to stick with Atlassian's Long Term Support (LTS) releases. An LTS version guarantees crucial security, stability, and performance fixes for an extended period, providing a stable foundation.
By opting for an LTS release, you avoid the churn of frequent feature updates. This allows you to refine complex workflows and automations without the platform changing underneath you. This predictability is critical for teams that cannot afford downtime.
For instance, Atlassian designated Jira Software 11.3 as an LTS release, guaranteeing critical bug fixes until December 3, 2027. Over 80% of Fortune 500 companies use Jira, and relying on LTS versions is a core part of maintaining enterprise-grade reliability. As their release notes highlight, this stability minimizes disruptions.
Choosing an LTS release isn’t about missing new features. It’s a deliberate choice for stability, giving your team a predictable environment to perfect their release process.
Future-proofing your Jira setup means building on solid ground. An LTS version combined with well-designed internal processes creates a release machine that is efficient now and dependable for years. To ensure your workflows are built to last, review our guide on Jira workflow best practices.
Even with the best plans, you'll encounter challenges. Here are practical solutions to common questions.
How Do We Handle Dependencies Between Teams?
This is a common headache. When one team is waiting on another, your release timeline is at risk.
The simplest native solution in Jira is the "Blocks" issue link. If ticket PROJ-123 can't proceed until CORE-456 is done, link them. This provides basic visibility.
For a more powerful approach, use an app from the Atlassian Marketplace that offers cross-project release boards. These tools provide a bird's-eye view, automatically flagging schedule conflicts and dependencies that are holding up a release.
What’s the Best Way to Manage Urgent Hotfixes?
When a critical bug hits production, you need to deploy a fix immediately. Your standard workflow is too slow.
The solution is to create a separate, fast-track workflow.
- First, create a unique issue type like "Hotfix" to signal its urgency.
- Next, design an expedited workflow for it. This process should have fewer statuses and quality gates, stripping it down to the essentials needed for a safe production deployment.
Use Jira's automation to automatically escalate hotfix issues, notify the on-call engineer in Slack, and feature them prominently on dashboards so they cannot be missed.
Can We Sync Our Release Versions with the Service Desk?
Yes, and you should. When a customer reports a bug through Jira Service Management, the support team needs to know when the fix is released.
"Versions" can be shared across multiple projects in the same Jira instance. Link a customer's support ticket directly to the software version that will contain the fix. Once that version is marked as "Released" in Jira Software, trigger an automation rule to update the service desk ticket and notify the customer. This closes the loop between your development and support teams.
Transform your Jira issues into dynamic, automated workflows with Harmonize Pro. Enforce quality gates, automate handoffs, and manage complex processes with Nesty's powerful nested checklists. Get started at https://harmonizepro.com/nesty.